Last week, we covered costumes, makeup and makeup effects. This seemed like a fitting topic for the week of Halloween. I have a friend who is very skilled at zombie makeup who was willing to come in and show us a thing or two. However, my friend was ultimately unable to make it, but we had fun nonetheless making various cuts, scrapes and wounds. We will definitely be doing another makeup day at some point.
The basic techniques we learned were how to make cuts with markers and how to mix fake blood. I also attempted old-age makeup on Oscar, with mixed results:
 |
| Oscar was very patient. |
The wounds turned out pretty good, though. Here's a run down of the techniques we used.

Cuts and Scrapes With Just Markers and Pens
Materials: 1 red magic (washable) marker
1 blue magic (washable) marker
1 red ballpoint pen
1 black ballpoint pen
Q-tips (optional)
Step 1. Draw a broad line (roughly half a centimeter) on the skin with the red marker.
Step 2. Draw thin lines with the blue marker on the edges of the red mark (on top of the red ink), leaving the middle red.
Step 3. Blend. You can use your finger with a little water, or a moistened q-tip. You want to avoid smudging the very middle, which should stay bright red (this is easier with the q-tip). Smudge the blue edges around until it no longer looks like ink on your skin but looks like a purplish bruise. The more faint and subtle the better.
Step 4: Take the red ballpoint pen and draw a thin red line in in the center. This represents the actual cut; the rest of the smudged blue and red marker will look like the bruising and irritation that occurs to skin when it gets cut.
Step 5: Take the black ballpoint pen and carefully and lightly draw a faint dashed line on the edge of the red line. Don't add much, just enough to give the cut an edge that looks like it is starting to scab a little bit.
Repeat steps as necessary.
 | ||||
| Alice inspects her work. |
To add blood: To make the cut look like it is bleeding, you need some fake blood (see below). The best way to apply it is to use a q-tip to dab a little blood onto a piece of paper (like an index card). Then fold the paper in two and use it to gently squeeze some blood out of the fold onto the "cut", keeping it to one side. Then carefully use your finger or a q-tip to tease out the blood to look like it is dripping out of the red pen line.
 | |||
| Applying blood to Lucas' "scrape." I made a much wider swath with the red marker, which, when a small amount of fake blood was spread over it, looked like a scrape. |
 |
| We used a little "Scar putty" wax (available at makeup suppliers) to add some three-dimensionality to the wound. |
 |
| Daniel is quite bloody. |
How to Make Fake Blood
Materials: Light corn syrup
Red Food Coloring
Green Food Coloring
Hot cocoa mix (optional)
Step 1: Add several drops of red food coloring to the corn syrup. Mix.
Step 2: Add just a drop (two if you're mixing a lot) of green food coloring and mix. This ensures that the blood is not too red.
And that's it! If you want the blood to appear dried (for example, if you're recreating a crime scene where the body has sat there a few hours), add some more drops of green until it is sufficiently brown. Mix in some hot cocoa powder to add a scabby, coagulated texture.
Here are a few more photos from the class, all taken from Harmony's Facebook page:


 |
| Jayneishia works on a face injury. |


 | |||
| Lily used some scar wax, cocoa and markers along with blood to create a convincing burn. |
We also talked very briefly about costumes. The point I emphasized is that a character's costume is how they choose to represent themselves to others- and therefore can tell us a great deal about that character. We did a quick fun activity in which we picked out random costume elements and then tried to figure out what characters might dress like that. Here are some pictures from that activity:
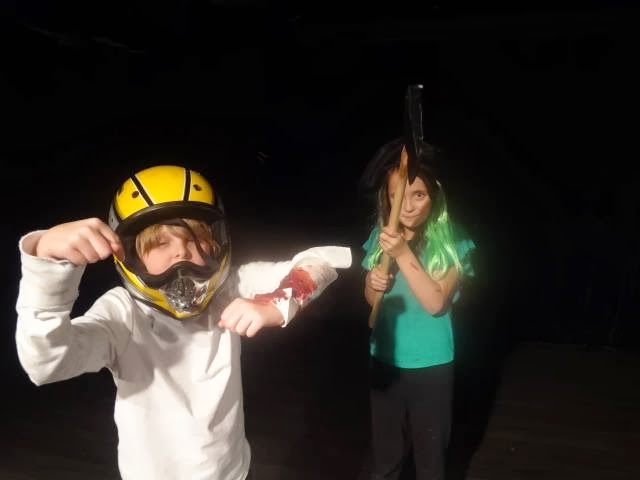
 |
| Naturally, the lure of fake weapons as accessories proved irresistible. |

No comments:
Post a Comment